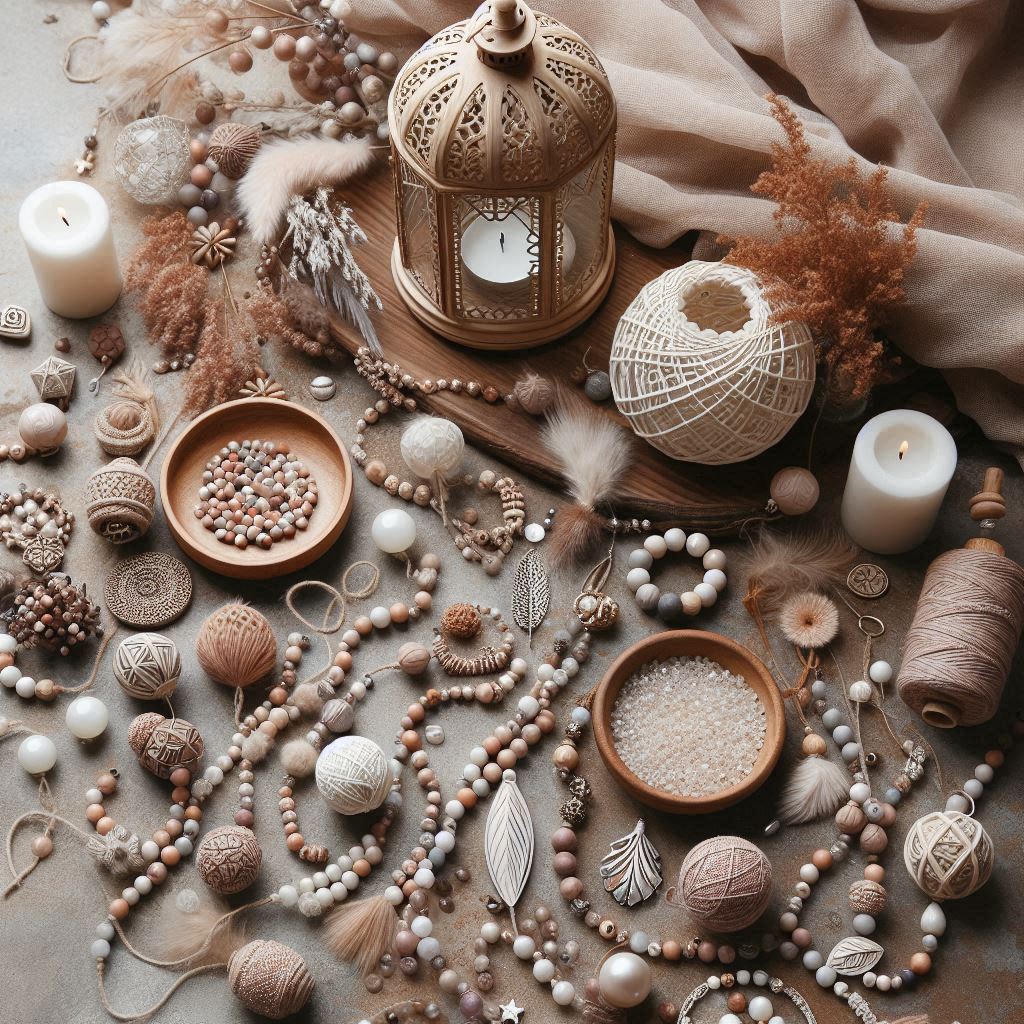
The charm of bohemian style lies in its laid-back and artistic vibe, perfect for anyone who loves a mix of cultures and a free-spirited lifestyle. Handmade decor becomes a self-expression canvas, blending personal taste with vibrant creativity.
Beads offer incredible flexibility in design. Whether they’re colorful or monochrome, small or large, they transform ordinary decor into something truly special. Think punches of color or subtle elegance – beads can do it all.
Garlands may sound simple, but add beads and you’ve got something magical. Strung along a wall or draped gracefully from a shelf, a beaded garland invites whimsy and warmth into any room. Mix in textures and colors to keep it fresh and uniquely you.
Here’s a step-by-step guide to help you create a beautiful boho garland using wooden beads and tassels. This can be a charming decor piece for walls, mantels, nurseries, or special events like boho-themed weddings or baby showers.
✂️ Supplies You’ll Need:
- Wooden beads (various sizes or uniform, depending on your style)
- Embroidery floss, yarn, or jute twine (for tassels)
- Jute cord, cotton string, or twine (for stringing the garland)
- Scissors
- Large-eye needle or beading needle (optional)
- Tape (optional, to stiffen the cord end)
🪡 Step-by-Step Instructions:
Step 1: Make the Tassels
- Wrap Yarn: Wrap the yarn or floss around a piece of cardboard (or your hand) about 20–30 times (depending on desired thickness).
- Tie the Top: Slide the bundle off and tie a small piece of string near the top to secure it (this creates the head of the tassel).
- Create the Neck: Wrap another piece of yarn around the top section a few times (about ½ inch from the top) and knot it securely.
- Trim the Bottom: Cut the looped ends at the bottom to create the tassel fringe.
- Repeat: Make as many tassels as you need (e.g., every 4–6 inches along the garland).
Step 2: Plan the Layout
- Decide the order: beads-tassel-beads-tassel or a custom pattern (e.g., 5 beads between each tassel).
- Lay out the beads and tassels on a flat surface to visualize your garland before stringing.
Step 3: String the Garland
- Cut the Cord: Measure and cut your garland string to your desired length, adding extra for hanging and tying knots (~12 inches extra).
- Stiffen the End: Wrap a bit of tape around one end of the cord to help it thread through beads easily.
- Thread the Beads and Tassels:
-
- Slide on beads in your desired pattern.
- To add a tassel: thread the top loop of the tassel directly onto the garland string, or tie it on with a small piece of string.
- Continue until all elements are strung.
Step 4: Secure the Ends
- Tie a Knot: Once done, tie a secure knot on each end of the garland to keep beads/tassels from sliding off.
- Make Hanging Loops (optional): Create small loops on each end for easy hanging on hooks or nails.
Step 5: Fluff and Adjust
- Adjust the spacing between beads and tassels.
- Fluff the tassels and trim if needed to make sure they’re even and neat.
🎨 Optional Touches:
- Paint or stain wooden beads for a more colorful or rustic look.
- Add pom-poms or feathers between beads for a more eclectic boho vibe.
- Use ombré or multi-color yarn for a dynamic effect.
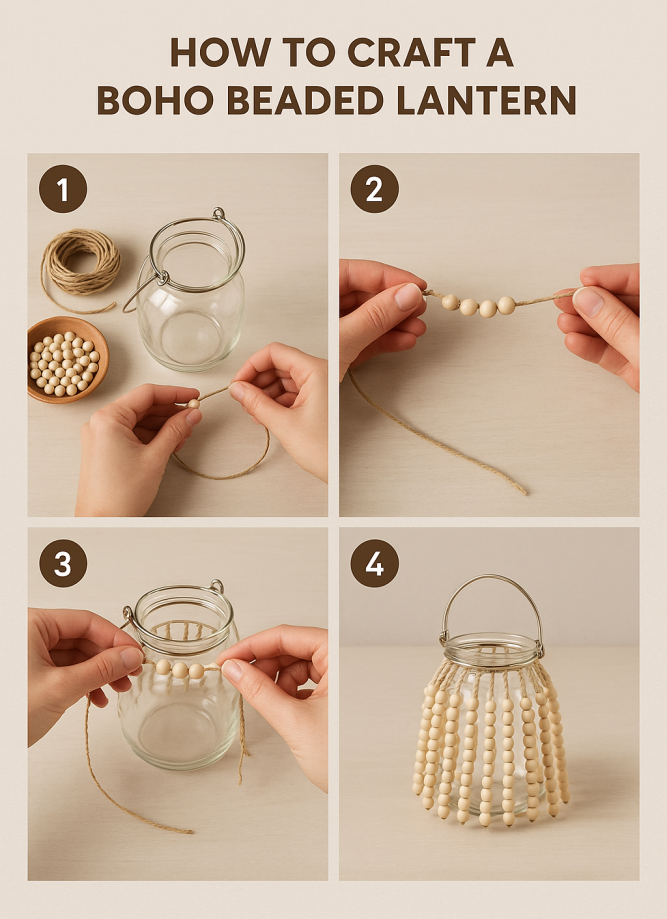
A regular lantern too plain? Not anymore! Wrap it with beads, and you’ve elevated it to a cozy marvel. Whether it’s to light up a corner or set the mood, beaded lanterns add an artistic flair that’s quintessentially boho.
The best part of crafting your own decor? Personalization. Let your creativity break boundaries. Incorporate trinkets or charms that speak to your heart and reflect the essence of your individuality throughout your creations.
Keeping an eye on current trends in boho decor can provide you with inspiring ideas. Whether it’s a modern shift in color palettes or innovative design techniques, integrating these with classic crafting ensures your decor is current yet timeless.